
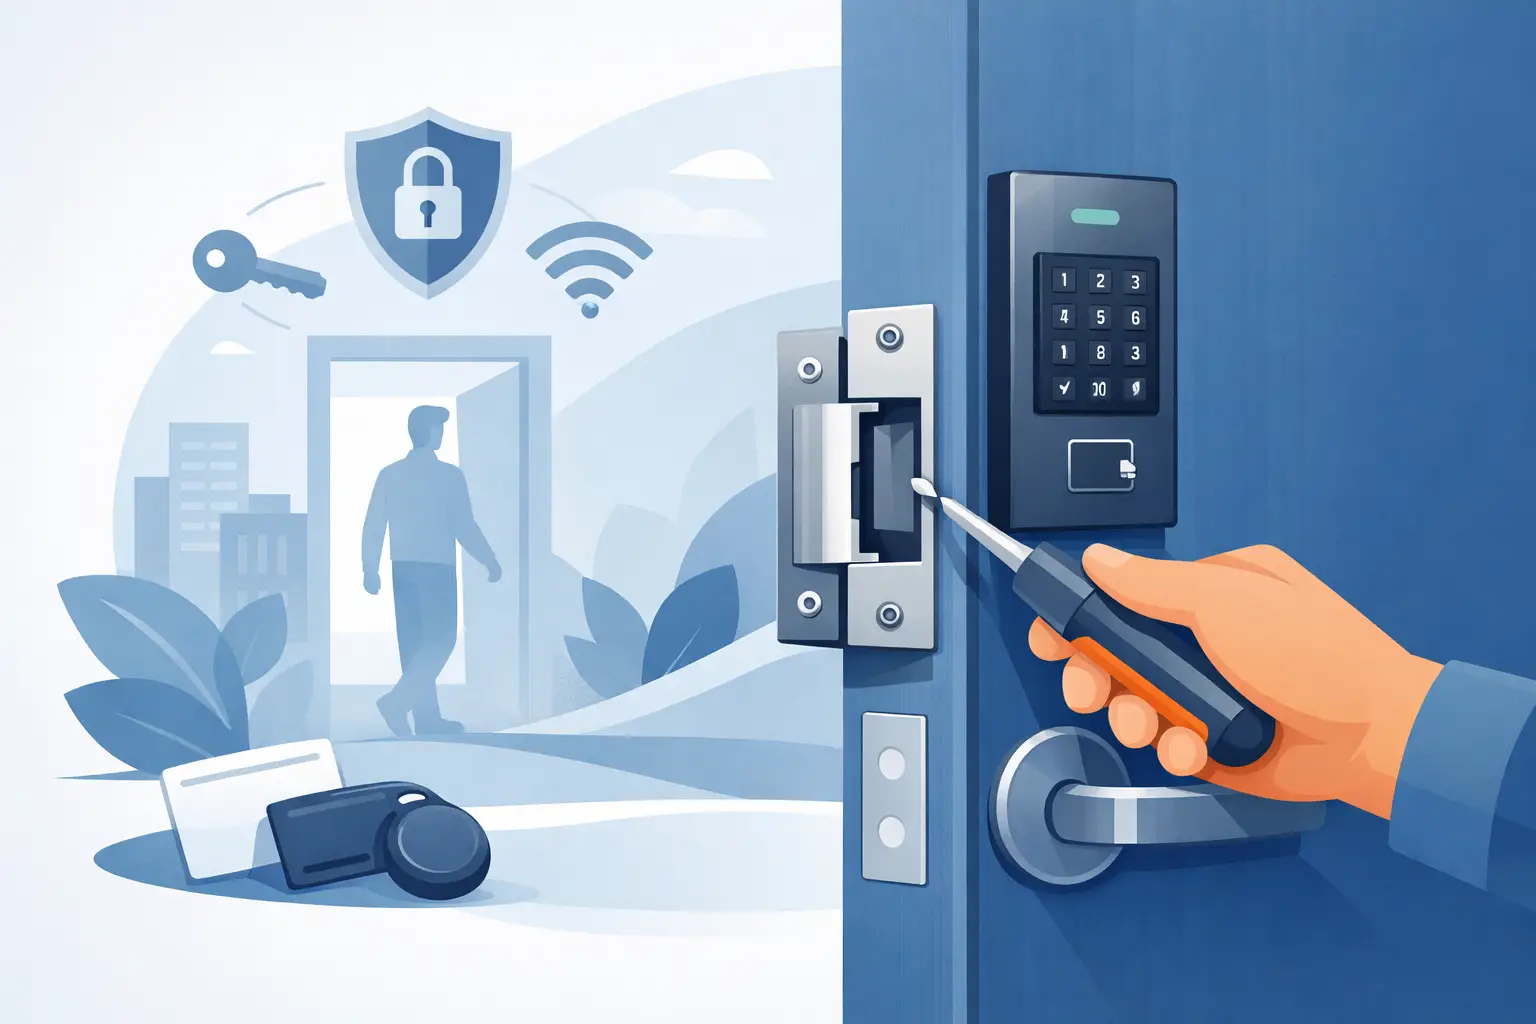

A door that closes but does not reliably secure is a weak point in any access control system. Knowing how to install door strikes starts with matching the strike to the door, lock hardware, power supply, and daily traffic at the opening. A properly installed electric strike allows authorized users to enter with a card, keypad, mobile credential, intercom, or remote release while the door remains locked for everyone else.
For a residential side door, small office, school entrance, or commercial employee door, the goal is the same: dependable access without compromising life safety, door operation, or security. Electric strikes look simple from the outside, but alignment, wiring, and code requirements determine whether the system works day after day.
Choose the Right Electric Strike Before Cutting the Frame
An electric strike replaces or modifies the standard strike plate in the door frame. When it receives the proper signal, it releases the latch so the door can be opened without turning the mechanical lock. It does not move the door itself, and it is not the same as a magnetic lock or electric latch retraction device.
The first decision is whether the opening needs fail-secure or fail-safe operation. A fail-secure strike stays locked when power is lost and unlocks only when energized. This is common for exterior doors and areas where security during a power outage is the priority. People can typically still exit using the lever or panic hardware from the secure side.
A fail-safe strike unlocks when power is lost. It is used only where free access during a power interruption is required by the opening design and applicable code. The correct choice depends on the door location, occupancy, fire and life-safety requirements, and the authority having jurisdiction. Do not select fail-safe hardware simply because it sounds more convenient.
Before purchasing hardware, confirm these details:
- Door and frame material, such as hollow metal, aluminum storefront, wood, or steel
- Lock type, including cylindrical latch, mortise lock, or rim exit device
- Latchbolt size, throw, and deadlatch configuration
- Required voltage and current draw, commonly 12 or 24 volts AC or DC
- Door handing, frame depth, and available space behind the strike
- Fire rating and listed compatibility where the opening is rated
A standard electric strike may fit one cylindrical latch but not a mortise lock or panic bar. Forcing a generic strike into the wrong frame prep often leads to binding, poor latch engagement, and an opening that is less secure than it was before.
Plan the Access Control and Power Path
The strike is only one part of the system. It needs an appropriate low-voltage power source, an access control relay or release device, proper wire routing, and often a request-to-exit device. A keypad, card reader, video intercom, wireless receiver, or access control panel sends the command. The relay then applies or removes power from the strike according to its operating mode.
Start by checking the manufacturer’s voltage requirements. Do not assume a 12-volt strike can run on 24 volts, or that AC and DC are interchangeable. Some models accept either, while others do not. Use a regulated, appropriately sized power supply and account for wire distance. Long cable runs can create voltage drop, especially with undersized wire, causing intermittent releases that are difficult to diagnose.
Run low-voltage cable through a protected path from the control equipment to the frame. The transition between the frame and door deserves special attention if other hardware is installed on the door. Use a door loop, armored cable transfer, or concealed power transfer when wiring must cross a moving opening. Keep low-voltage security wiring separate from line-voltage wiring unless the installation method and code requirements specifically allow otherwise.
For commercial access control, use the panel relay correctly. Most strikes are wired through normally closed or normally open contacts based on the required lock behavior. Label conductors at both ends, leave service slack where practical, and document the wiring. Those steps save time when service is needed months or years later.
How to Install Door Strikes in a Metal or Wood Frame
Begin with the door closed and latched normally. Inspect the existing latch and strike alignment before removing anything. If the door sags, rubs the frame, has loose hinges, or requires force to latch, correct that condition first. An electric strike cannot compensate for a poorly operating door.
Turn off power to the access control circuit before making connections. Remove the existing strike plate and hold the new strike in position. Most quality strikes include a template, mounting hardware, and installation instructions for common frame types. Follow the hardware manufacturer’s template rather than guessing at the opening size.
For a metal frame, carefully mark the cutout and mounting holes. A rotary tool, drill, jigsaw designed for metal, or frame-prep tools may be needed depending on the strike and frame construction. Work slowly. Removing too much metal can weaken the mounting area or leave gaps that make the installation difficult to secure.
For a wood frame, cut only the material required for the strike body and wiring path. Reinforce the mounting area as needed, especially on older frames where repeated latch impact has damaged the wood. Use screws that properly anchor into the frame structure, not just thin trim.
Route the cable into the strike cavity before fastening the unit. Make wire connections using the manufacturer-approved terminals or secure splices, and protect them from pinching. Mount the strike squarely and tighten the hardware without distorting the case.
With power still off, close the door and check the mechanical fit. The latch should enter the keeper cleanly without pushing hard against it. The deadlatch plunger, if present, must be properly supported by the strike lip. If alignment is off, adjust the strike, hinge position, latch, or door closer as needed. Filing the latch or forcing the keeper is rarely the right fix.
Test Security, Release, and Free Egress
Restore power and test the opening from both sides. Present an authorized credential or activate the release button. The strike should release promptly, and the door should open with normal pressure. When the release time ends, close the door and confirm that the latch re-engages fully.
Test the door at least several times, including with the door closer operating at normal speed. A strike that releases only when the door is pulled or pushed in a certain direction is not properly adjusted. This may be caused by latch preload, a misaligned frame, an incorrectly positioned keeper, or inadequate power at the strike.
Free egress must remain reliable. Occupants must be able to leave according to the hardware design and applicable code, without needing a credential, special knowledge, or powered access control release. Doors serving public spaces, schools, and commercial occupancies can have additional requirements for panic hardware, fire alarm integration, and emergency release. When an opening involves a fire-rated door, stairwell, exit route, or assembly occupancy, have the work reviewed by a qualified security and door hardware professional.
Common Problems After Installation
The most common complaint is a strike that buzzes or clicks but will not release the latch. In many cases, the electrical side is functioning, but the door is placing pressure on the keeper. Check door alignment, closer force, weatherstripping pressure, and latch position before replacing the strike.
If the strike works occasionally, measure voltage at the strike while it is activated. A reading that is correct at the power supply but low at the opening points to voltage drop, a poor connection, damaged cable, or an undersized power supply. Intermittent operation can also result from using the wrong AC/DC setting or installing a strike that is not rated for continuous duty.
A door that releases but will not relock usually has a latch alignment issue or an improperly adjusted keeper. Confirm that the latchbolt fully enters the strike when the door closes. The door should latch securely without a credential and should not open when pulled from the exterior.
When Professional Installation Is the Better Choice
A single low-risk residential opening may be a manageable project for someone experienced with door hardware and low-voltage wiring. Commercial doors are different. Hollow metal frames, panic hardware, fire labels, access panels, intercoms, schedules, credential management, and network-connected systems create more opportunities for an installation mistake to affect security or compliance.
ATECH SECURITY LLC installs and services access control systems with the door hardware, power, programming, and ongoing support considered together. That approach matters because a reliable opening is not just a strike that releases once. It is a door that secures correctly, allows authorized access, supports safe exit, and can be serviced quickly when the property needs it most.
If the door is binding, the frame is rated, the wiring route is difficult, or the access system needs to work with cameras, intercoms, or remote credentials, pause before cutting the frame. A careful site assessment can prevent a small door hardware project from becoming an unreliable security problem.
Comments