
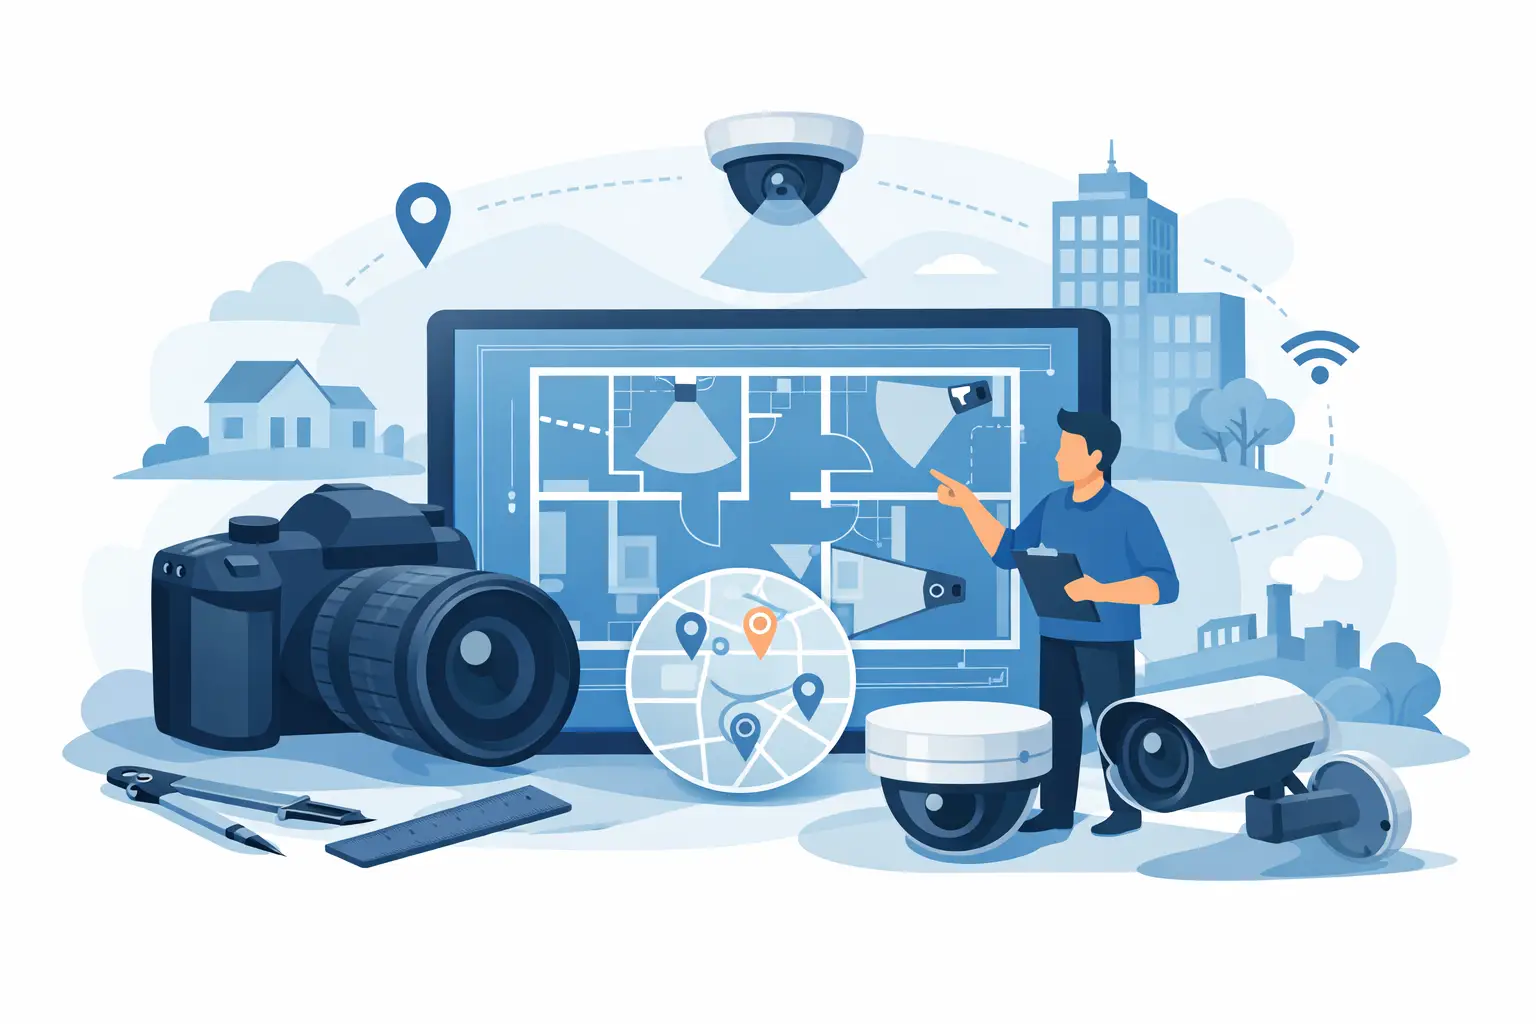

A camera system can fail before it is ever installed. The problem is usually not the equipment. It is placement. If you are figuring out how to plan camera placement, the goal is not to cover every inch of a property. The goal is to capture useful video of the right areas, at the right angle, with enough detail to help when something actually happens.
That distinction matters for homeowners, retail stores, offices, schools, and mixed-use properties. A camera pointed in the wrong direction can give you motion alerts all day and still miss a face, a license plate, or the exact moment someone enters a restricted area. Good placement turns cameras from a general deterrent into a working security tool.
Start with the risk, not the camera
The best camera layout begins with a simple question: what are you trying to see, and why? For a homeowner, that might be the front door, driveway, backyard gate, and side yard. For a business, it may be entrances, registers, stock rooms, parking areas, loading zones, and access-controlled doors. For a school or public building, it often includes vestibules, hallways, perimeter approaches, and gathering areas.
This is where many people go wrong. They start by counting corners of the building and deciding how many cameras will fit the budget. That approach usually creates coverage, but not priority coverage. A better plan ranks areas by security value. Start with entry points, cash handling, high-traffic areas, isolated areas, and any place where incidents would create liability or operational disruption.
Once you know the priority zones, camera placement becomes more deliberate. You are no longer asking where a camera can go. You are asking what view will give you usable evidence.
How to plan camera placement for usable video
A wide view is helpful for awareness, but it often sacrifices detail. That trade-off matters. If you mount one camera high on a building and use it to watch a large parking lot, you may see movement clearly, but you may not identify a person or vehicle when you need to.
That is why a strong design usually mixes overview cameras with tighter views. An overview camera shows what happened and where people moved. A second camera closer to the action captures faces, hand movements, clothing details, or plate numbers. In a commercial setting, this often means one camera covering the room and another focused on the entrance or transaction point.
Height matters too. Cameras mounted too high can create a good general picture while giving you poor facial detail. Cameras mounted too low can be vulnerable to tampering or blocked by normal activity. There is no single perfect height for every property. Front doors, driveways, warehouse bays, and hallways all have different needs. The right answer depends on whether your priority is detection, recognition, or identification.
Think in layers, not single views
The most dependable systems are built in layers. Your perimeter should tell you someone is approaching. Your entry cameras should show who they are. Your interior cameras should track where they went and what they did.
For a home, that may mean exterior coverage of the driveway and front walkway, plus a door-focused view and selected coverage of backyard access points. For a business, it may mean exterior lot coverage, clear shots of every public entrance, and interior cameras at service counters, inventory areas, and employee-only zones. Layered planning reduces blind spots and gives context, which is often just as important as the main image itself.
This also helps with claims and investigations. A single clip taken out of context can raise more questions than it answers. Layered views let you follow movement from one area to another without guessing.
Lighting can make or break placement
A camera aimed at the right area can still underperform if lighting is ignored. Bright backlighting from glass doors, headlights in a parking lot, sun glare, and deep shadows under overhangs all affect image quality. Night performance is especially sensitive to placement. Infrared cameras can help, but they are not magic. If a camera is placed where reflective surfaces, dust, spider webs, or nearby walls bounce IR light back into the lens, the picture can wash out.
When planning placement, look at the property in daylight and after dark. A front entrance that looks fine at noon may be hard to read at night because the light source is behind the subject. A loading area may need a camera angle that avoids direct glare from vehicle lights. A residential side yard may need enough ambient light to prevent a flat, low-detail image.
It is also worth thinking about seasonal changes. A camera view that works in winter can be blocked by leaves in spring. Low morning sun may affect one side of a building for part of the year. These are small details until they interfere with an incident review.
Avoid the common blind spot mistakes
Blind spots are not always obvious. They often show up because of landscaping, door swings, parked vehicles, shelving, fencing, or the shape of the building itself. People also tend to underestimate how much a camera loses at the edge of its field of view. Just because an area appears on screen does not mean it is covered well enough to be useful.
One of the most common mistakes is placing cameras only at the corners of a building and assuming that crossover views will cover everything. Corners are useful, but they can leave gaps near doors, gates, and walls. Another mistake is pointing a camera straight down from above an entrance. That may show the top of a head, but it is not ideal for identification.
Interior blind spots deserve the same attention. In offices and retail spaces, displays, partitions, and open doors can block key views. In warehouses, racking and forklift traffic change sight lines. In schools and public buildings, vestibules and intersecting hallways need careful angle planning to avoid missing movement between zones.
Network and recording choices affect camera placement
Physical placement is only part of the job. Modern camera systems depend on network performance, power delivery, and recording settings. That matters because the best camera location on paper may not be practical if cabling, switching, or bandwidth is limited.
For IP systems, cable paths, switch capacity, and remote access requirements should be part of the plan early. If you add high-resolution cameras without considering storage retention, you may end up lowering frame rates or keeping footage for fewer days than expected. That can turn a well-placed camera into a weak record.
This is one reason professionally designed systems tend to perform better over time. Placement is tied to infrastructure. At ATECH SECURITY LLC, that often means evaluating both the field-of-view requirements and the network environment so the final system records reliably and supports remote access without unnecessary compromise.
How to plan camera placement for different property types
Homes usually need a focused plan. The front door, driveway, garage approach, and rear access points matter more than broad decorative views of the whole house. If package theft is a concern, the camera angle should clearly capture the delivery area, not just the walkway. If vehicle activity matters, the driveway view should prioritize where cars stop or turn, not only the street.
Small businesses often need better entrance and transaction coverage than they expect. A camera over the sales floor is useful, but it should not replace a direct view of the front door and point-of-sale area. Back-of-house areas matter too. Employee entrances, stock rooms, and rear exits are common weak points.
Larger facilities and institutions usually need a more structured approach. Public entrances, secured interior doors, parking lots, loading zones, and long corridors all serve different purposes. Some cameras are there to monitor flow. Others are there to capture identity. Mixing those goals into one camera usually leads to disappointment.
Walk the site before making final decisions
Even a strong floor plan will not tell you everything. A site walk helps confirm mounting height, obstructions, light conditions, cable paths, and whether a planned angle really captures what matters. It also helps you spot issues that are easy to miss on paper, such as signage blocking a doorway view, a tree line covering a fence opening, or a camera location that will be hard to service later.
A practical site review should also account for future changes. New fencing, outdoor seating, gates, trailers, or interior remodeling can change what a camera sees. A layout that works today should still make sense when the property evolves.
The right camera placement plan is not the one with the most devices. It is the one that gives you clear, reliable footage where the risk is highest and the response matters most. If you treat placement as a security decision instead of a hardware decision, the system will do a much better job when you need it.
Comments